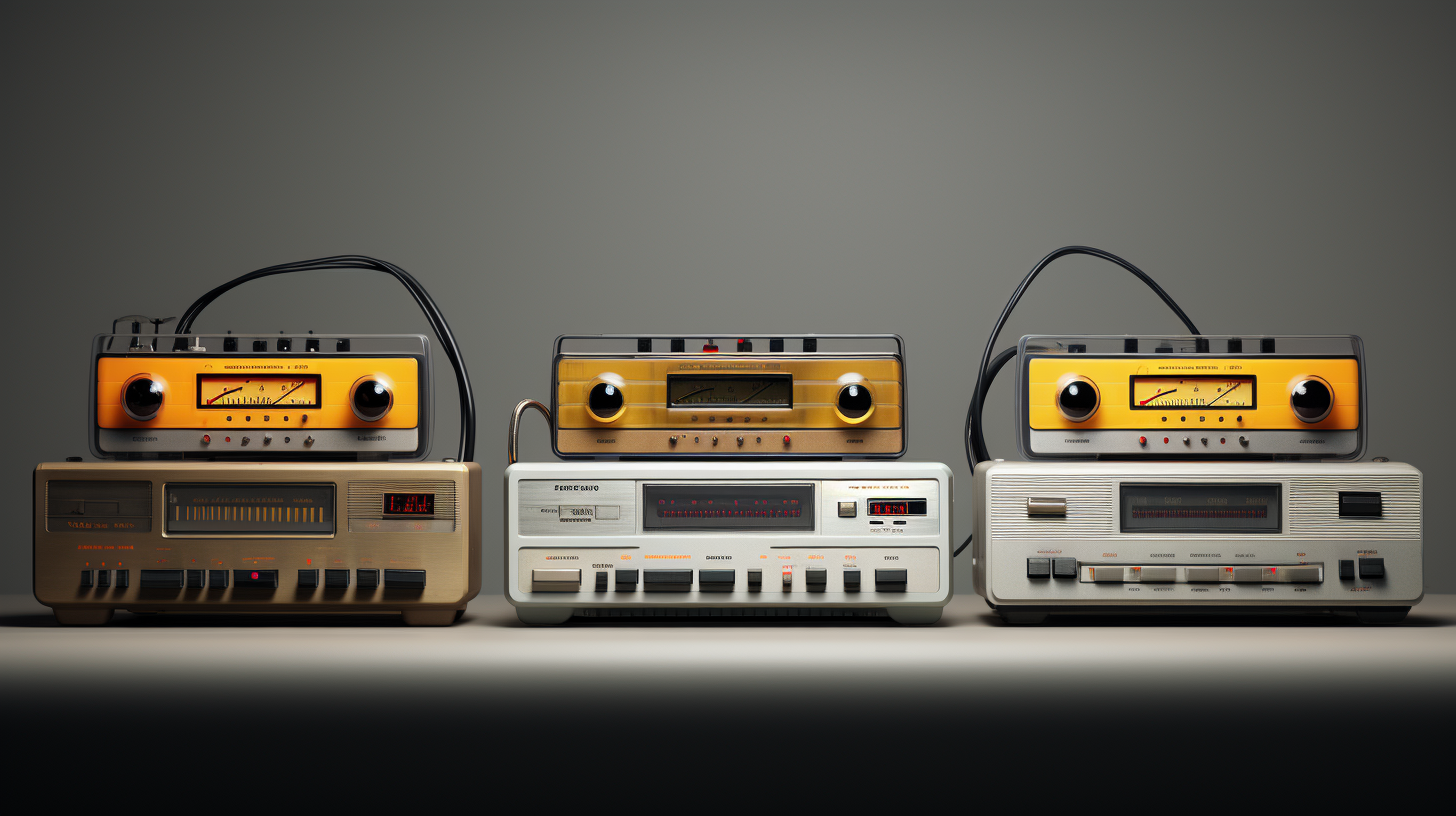
Introduction: Understanding the Importance of the Cassette Player Belt
Introduction:
Understanding the Importance of the Cassette Player Belt
When it comes to cassette player maintenance, one component that often needs attention is the cassette player belt. The belt is responsible for driving the tape mechanism and ensuring smooth playback. Over time, however, the belt can become worn, stretched, or even snap, causing issues with tape speed and playback quality. It is crucial to understand the importance of the cassette player belt and its role in maintaining optimal performance.
The cassette player belt is a small but essential part of the tape mechanism system. It connects the motor to the tape spindles, transferring the rotational motion required for tape movement. A worn-out or broken belt can lead to various problems in your cassette player, such as the tape playback being too slow, uneven, or completely non-functional. Moreover, a malfunctioning belt may cause tape damage due to improper tension or alignment within the player.
Replacing the cassette player belt is a fairly simple process, and doing so can breathe new life into your aging cassette player. By understanding the role and importance of the belt, you can troubleshoot and address any playback issues effectively. In the following sections, we will guide you through the step-by-step process of replacing the belt in your cassette player, helping you revive the nostalgic experience of cassette tape listening.
Safety Precautions: Protecting Yourself and Your Cassette Player
When it comes to replacing the belt in your cassette player, it’s important to prioritize safety to protect both yourself and your device. Firstly, ensure that the cassette player is powered off and unplugged before attempting any repairs. This will minimize the risk of electrical shocks and other potential accidents. Additionally, be sure to find a clean and well-lit workspace where you can comfortably work without any distractions.
Wearing appropriate safety gear such as gloves and safety goggles is also essential. This will protect your hands from sharp or delicate components in the cassette player and shield your eyes from any potential debris or dust that may be dislodged during the repair process. If you are unsure about any of the steps involved in replacing the belt, it’s advisable to consult the manufacturer’s instructions or seek assistance from a professional technician, as improper handling can result in further damage to the cassette player.
Remember, taking the necessary safety precautions will not only safeguard your own well-being, but also help ensure the longevity and functionality of your cassette player as you work on replacing the belt.
Tools and Materials Needed: Gathering Everything for the Belt Replacement
When it comes to replacing the belt in your cassette player, it’s essential to gather all the necessary tools and materials beforehand. This ensures a smooth and efficient belt replacement process. Here are some of the tools and materials you will need:
1. Screwdriver: A small Phillips screwdriver is typically required to open the cassette player and access the belt mechanism. Make sure to choose a screwdriver that fits the screws on your particular player to avoid damaging them.
2. Replacement Belt: The most critical component of the belt replacement process is, of course, the replacement belt itself. Measure the old belt’s length and thickness to determine the appropriate replacement size. It’s important to purchase a high-quality belt that matches the original specifications to ensure optimal performance.
3. Anti-static Wrist Strap (Optional): If you are concerned about static electricity damaging the delicate electronic components inside the cassette player, you may want to consider using an anti-static wrist strap. This strap helps to ground any static charges and prevent accidental damage.
4. Tweezers: A pair of tweezers is handy for handling small parts and intricately positioning the replacement belt properly. It allows you to maintain precise control and accuracy during the belt replacement procedure.
5. Cleaning Solution and Cotton Swabs: Before installing the new belt, it’s wise to clean the cassette player’s internal components thoroughly. Use a mild cleaning solution and cotton swabs to remove any dust, debris, or old belt particles that may have accumulated over time.
Remember, having the right tools and materials is crucial for a successful belt replacement in your cassette player. By gathering everything you need upfront, you can save time and ensure a hassle-free replacement process.
Removing the Cassette Player Cover: Accessing the Belt Compartment
To replace the belt in your cassette player, you first need to access the belt compartment, which requires removing the cassette player cover. This process may vary slightly depending on the specific model of your cassette player, but the general steps remain the same.
Start by locating the screws or clips that hold the cover in place. These are usually found on the sides or the back of the cassette player. Use a screwdriver or your fingers to remove the screws or unclip the cover, being careful not to damage any delicate components.
Once the cover is removed, you’ll have a clear view of the inner workings of the cassette player, including the belt compartment. Take a moment to familiarize yourself with the layout and identify the belt compartment. It is often located near the motor, which drives the cassette mechanism. Look for a small, rubber belt that may appear worn, broken, or loose.
To replace the belt, gently pull it off its current position, being mindful not to damage any surrounding parts. Take note of how the old belt was positioned, as this will help you when installing the new belt. Then, place the new belt in the same position, making sure it fits snugly around the appropriate pulleys.
Once the new belt is in place, you can proceed with reassembling the cassette player by putting the cover back on. Ensure that all screws or clips are securely fastened before testing your cassette player.
Remember, if you encounter any difficulties or are unsure about the process, it’s always best to consult the manufacturer’s instructions or seek professional assistance.
Identifying the Worn-out Belt: Signs of Belt Damage and Wear
Identifying worn-out belts in your cassette player is crucial for maintaining the quality of sound and ensuring smooth playback. Over time, belts can become weak, stretched, or damaged, leading to various issues. One common sign of belt damage is slow or inconsistent tape speed. If your cassette tapes sound distorted or play slower than usual, it is likely that the belt needs replacing. Additionally, a slipping belt can cause issues such as the tape not being pulled properly, resulting in muffled or uneven sound.
Inspecting the belt visually can also reveal signs of wear and tear. A worn-out belt might appear loose, cracked, or have visible signs of fraying. If you notice any of these indications, it is necessary to replace the belt to ensure optimal performance. Another clue is a sticky belt, which can occur due to the accumulation of dirt and debris over time. A belt that sticks can cause the tapes to jam or stop playing altogether.
Regularly checking the condition of belts in your cassette player is essential to ensure the longevity and smooth operation of your device. By observing the signs mentioned, you can identify worn-out belts and take the necessary steps to replace them. Remember, a properly functioning belt is crucial for optimal cassette playback and sound quality.
Purchasing the Right Replacement Belt: Choosing the Correct Size and Type
When it comes to replacing the belt in your cassette player, one of the most crucial steps is selecting the right replacement belt. Choosing the correct size and type is essential to ensure proper functioning and optimal performance of your cassette player.
To begin, you need to determine the size of the replacement belt. This can be a bit tricky as cassette players come in various sizes with different belt lengths. One way to determine the correct size is by measuring the circumference of the old belt. However, if the old belt is missing or damaged, you can refer to the manufacturer’s instructions or consult a professional to get the right measurements.
Another important factor to consider is the type of replacement belt. Generally, there are two types available: square and round belts. Square belts are commonly used in older cassette players, while round belts are more prevalent in modern ones. It is crucial to choose the correct type as using the wrong one can lead to issues like slipping or improper play.
In addition to size and type, it is also important to consider the quality of the replacement belt. Opting for high-quality belts, even if they cost a bit more, can ensure longevity and better performance in the long run. Reading reviews and seeking recommendations from experts can help you make an informed decision when purchasing replacement belts for your cassette player.
Removing the Old Belt: Step-by-step Guide to Taking out the Worn Belt
When it comes to replacing the belt in your cassette player, one of the first steps is to remove the old worn-out belt. This step-by-step guide will help you in taking out the old belt efficiently.
1. Gather the necessary tools: Before starting the process, ensure you have the required tools such as a small Phillips head screwdriver and a pair of tweezers. These tools will come in handy during the belt removal process.
2. Open the cassette player: Start by removing the screws that hold the cassette player’s casing together using the small Phillips head screwdriver. Carefully set aside the screws in a safe place.
3. Locate the old belt: Once the cassette player is opened, you will spot the old worn-out belt. It is usually located near the motor and cassette mechanism. Take note of its position and how it needs to be taken out.
4. Release the tension: To remove the old belt, you need to release the tension it creates. Use the tweezers to gently lift and remove the belt from its original position. Be cautious not to damage any other components while doing so.
5. Clean the area: While the old belt is removed, take this opportunity to clean the area where the belt was located. Use a soft cloth or cotton swab to remove any dirt or debris that might have accumulated over time.
By following these step-by-step instructions, you can efficiently remove the old worn-out belt from your cassette player. Once the old belt is removed, you will be ready to proceed with installing the new belt and getting your cassette player back in working condition.
Installing the New Belt: Putting the Replacement Belt in Place
Installing the new belt in your cassette player is a crucial step in the process of replacing the belt. Once you have acquired the correct replacement belt for your specific cassette player model, it’s time to put it in place. Begin by locating the belt wheel inside the player, typically found near the motor. Carefully place the replacement belt around the wheel, ensuring it is properly aligned and positioned.
Next, gently rotate the belt wheel to ensure the belt is seated correctly and has proper tension. It should glide smoothly along the wheel without any resistance or slipping. Make sure the belt is properly seated in the motor pulley as well, as this ensures the cassette player functions optimally.
Once you have confirmed the replacement belt is properly installed, double-check all connections and components before reassembling the cassette player. Follow the remaining steps in the belt replacement process to finalize the procedure, and you should be left with a fully functioning cassette player with a new, reliable belt.
Testing the Cassette Player: Ensuring Proper Functionality
Testing the cassette player is an essential step in ensuring its proper functionality after replacing the belt. When the new belt has been installed, it is important to perform a thorough testing process to make sure everything is in working order.
One of the most common tests is to insert a cassette and check if it plays properly. Start by pressing the play button and listen for any unusual noises or distortions in the audio. If the cassette runs smoothly and the audio is clear, it indicates that the belt replacement has been successful.
Additionally, it is crucial to test the rewind and fast-forward functions. Pressing these buttons should cause the cassette to move at a faster pace. Pay attention to any abnormal sounds or resistance while performing these functions, as it could indicate a problem with the belt or other mechanical components.
Another important test is to check the responsiveness of the buttons. Press each button, including play, stop, pause, and eject, to ensure they function as intended. They should engage and disengage smoothly without any delay or sticking.
Lastly, verify the tape counter to ensure it accurately displays the cassette’s duration and tracks. Fast-forward and rewind the cassette a few times and observe if the counter accurately reflects the tape movement.
By thoroughly testing the cassette player after replacing the belt, you can be confident in its proper functionality, ensuring that you can enjoy your favorite cassettes without any issues.
Troubleshooting Tips: Addressing Common Challenges in Belt Replacement
When it comes to replacing the belt in your cassette player, there are a few common challenges that you may encounter. One of the most common issues is determining the proper size of the replacement belt. Cassette players can have various belt sizes, so it’s essential to measure the old belt accurately or consult the player’s manual for the recommended size.
Another challenge is accessing the belt in the cassette player. Depending on the model, you may need to disassemble the player to reach the belt. It’s crucial to be patient and careful during this process to avoid causing any damage to the player. Taking pictures or notes as you disassemble can be helpful when it comes to putting everything back together correctly.
Once you have access to the belt, another common challenge is aligning it properly. The belt needs to be threaded around the gears and pulleys in the correct configuration for the cassette player to function correctly. It’s crucial to refer to the player’s manual or online resources for guidance on the belt’s correct path.
In summary, when replacing the belt in your cassette player, make sure to accurately measure the size of the replacement belt, be patient during the disassembly process, and carefully align the belt around the gears and pulleys. By addressing these common challenges, you can successfully replace the belt in your cassette player and enjoy your favorite tapes once again.
Maintenance and Care: Keeping Your Cassette Player Belt in Good Condition
Maintenance and care are crucial factors in ensuring the longevity and optimal performance of your cassette player belt. Over time, cassette player belts can become worn out, loose, or even break, affecting the tape deck’s functionality and sound quality. By providing proper maintenance and care, you can keep your cassette player belt in good condition and avoid the need for frequent replacements.
Regular cleaning is an essential maintenance practice for a cassette player belt. Dust, debris, and dirt can accumulate over time, leading to increased friction and wear. Using a soft, lint-free cloth, gently wipe the belt and its surrounding components to remove any particles. Avoid using harsh chemicals or abrasive cleaners as they may damage the belt or other parts.
Another vital aspect of belt maintenance is ensuring proper tension. A loose belt can result in slipping and poor tape playback, while a too-tight belt can strain the motor. To check the tension, gently press the belt with your finger. It should provide slight resistance without feeling loose or stiff. If the belt feels loose, it may require adjustment or replacement.
Additionally, storing your cassette player properly when not in use can assist in preserving the belt’s condition. Keep it away from extreme temperatures, moisture, direct sunlight, and magnetic fields. These elements can deteriorate the belt and other sensitive components, shortening their lifespan.
By following these maintenance and care practices, you can prolong the life of your cassette player belt and enjoy high-quality sound playback for years to come. However, should the belt become worn out or break, it is crucial to know how to replace it promptly to restore your cassette player’s functionality.
Conclusion: Enjoying the Pleasures of Your Restored Cassette Player
In the final section of the guide on how to replace the belt in your cassette player, the conclusion reiterates the importance of enjoying the restored pleasures of your cassette player. It highlights the efforts put into replacing the belt and emphasizes the results you can now expect from your vintage audio equipment.
The conclusion encourages readers to take a moment to appreciate the tangible satisfaction of listening to music on cassette tapes once again. It acknowledges the sentimental value and nostalgia associated with cassette players, reminding users that the process of replacing the belt is worth the effort.
Furthermore, the conclusion serves as a reminder that maintaining and repairing older technologies like cassette players not only allows us to relive past memories but also provides a unique listening experience that cannot be replicated by digital music. It portrays the cassette player as a cherished artifact, capable of bringing joy and a sense of enrichment to our lives.
Ultimately, the conclusion of the guide leaves readers with a newfound appreciation for their restored cassette player and encourages them to savor the pleasure it brings, as well as to continue exploring and preserving other vintage technologies that hold sentimental value.
Leave a Reply